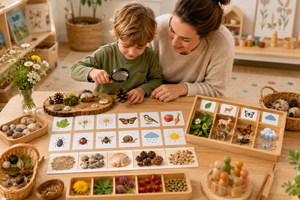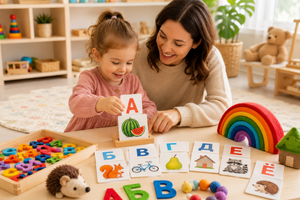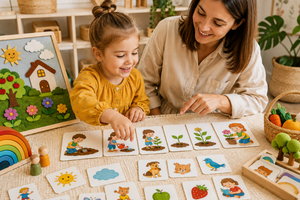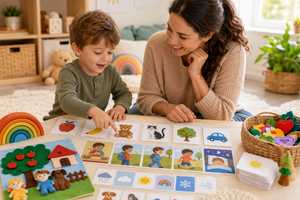
A child may confidently identify a lion, penguin, and dolphin yet hesitate when asked why they belong in different places. That is a useful next step after learning animal names. Instead of recalling an isolated label, the child begins to connect an animal’s body, movement, food, shelter, and surroundings. A picture of a habitat then becomes more than a background: it holds clues that can be compared and discussed.
Classification games turn a broad science topic into visible actions. Children look, move a card, test a choice, explain it, and sometimes change their minds. This guide offers a gradual path from sorting four familiar animals between land and water to comparing forest, savanna, sandy, and marine habitats. The aim is not to memorize a perfect chart. It is to help a child notice useful features, form a rule, and use evidence in an enjoyable conversation.
Key takeaways
- Begin with two contrasting habitats, such as forest and sea, and only four to six familiar animals.
- Let the child sort before asking for an explanation; the physical choice makes the rule easier to understand.
- Describe a habitat through practical needs: food, water, shelter, space, temperature, and a way to move.
- Accept more than one well-reasoned placement when an animal uses both land and water or moves seasonally.
- Increase one challenge at a time: more cards, another habitat, subtler differences, or a longer explanation.
What does “habitat” mean to a preschooler?
A preschool child does not need a textbook definition. A useful version is: a habitat is the place where an animal can find what it needs to live. Look at a forest picture and ask three concrete questions. Where could the animal hide? What might it eat? How would it travel here? Repeat the questions with the sea, desert, wetland, or grassland. The recurring pattern helps children understand that a habitat is a set of conditions rather than a decorative scene.
Classification is also an action, not a list of facts. The child chooses a relevant feature, compares every animal with the rule, and checks whether the groups make sense. Placing a seal near water because it swims and feeds there shows reasoning, even before the child has precise vocabulary. Later, words such as fins, webbed feet, camouflage, burrow, or thick fur make the explanation richer.
Some examples deliberately resist a neat two-box answer. A frog, beaver, duck, or turtle may need both water and land. A migratory bird uses different places during the year. Treat these cards as valuable discussion prompts rather than traps. Ask, “When does it use each place?” or “Which habitat is most important for feeding, nesting, or resting?” The child learns that categories help us organize information but do not erase the complexity of nature.
Animal habitat games by age
Age ranges are starting points. A child who often visits a forest, watches birds, or keeps an aquarium may already use more detailed observations. Start where the child can make several independent choices and then add a small challenge.
|
Approximate age |
Good starting set |
Main activity |
Next step |
|
2–3 years |
Three or four familiar animals and two contrasting scenes |
Put a fish in “water” and a bear in “forest” after an adult’s demonstration |
Add one animal or name one visible clue |
|
3–4 years |
Six to eight cards and three habitats |
Sort, name the animal, and complete the phrase “It can live here because…” |
Find one visitor that belongs elsewhere |
|
4–5 years |
Forest, savanna, sea, and polar regions |
Compare conditions and link one body feature to each place |
Discuss animals that can use two habitats |
|
5–6 years |
Ten to sixteen cards, labels, and a simple world map |
Create a rule, justify exceptions, and locate broad regions |
Build a simple food chain inside one habitat |
How to prepare the first classification game
Choose two easy-to-read areas
Use a blue cloth for water and a green cloth for land, or print one clear forest picture and one sea picture. Place only four to six animal cards on the table. A fish, dolphin, squirrel, and fox give a clearer first contrast than several animals that all spend time near water. Reducing visual clutter lets the child focus on the classification rule.
Model one complete decision
Pick up the fish and say, “A fish lives in water. It swims and finds food there, so I will put it here.” Then hand the next card to the child. A single visible demonstration is easier to follow than a long explanation of every habitat before play begins.
Use prompts that return attention to evidence
If a card lands in a surprising place, pause before correcting it. Ask, “What would this animal eat here?” “How would it move?” or “Where could it hide?” A neutral prompt lets the child review the choice. If the reasoning is plausible, explore it. If key information is missing, offer one concise fact and invite another try.
Keep the first ending easy
Stop after one complete round while the child still understands the rule. You can photograph the finished groups or let the child choose a favorite animal to revisit tomorrow. A brief, completed experience is more useful than adding cards until concentration is gone.
Seven practical habitat classification games
1. Who lives where?
Lay out two or three habitat scenes and reveal animal cards one at a time. Younger children name and place each animal. Older preschoolers add one reason. If speaking and sorting together feels demanding, finish the whole sort first and discuss two selected cards afterward.
2. The unexpected visitor
Make a row of three forest animals and one marine animal. The child identifies the visitor, returns it to the appropriate habitat, and explains the clue. Change the rule on later rounds: group by movement, body covering, diet, or whether the animal is usually active in daylight.
3. Pack for the animal
Choose an animal and imagine preparing a suitable place for it. Offer picture cards showing water, plants, rocks, shade, a nest, ice, or sand. The child selects what is relevant and rejects distracting options. Ask how the animal’s own body already helps it: thick fur retains warmth, a streamlined body supports swimming, and broad feet can help on soft ground.
4. Habitat detectives
Show a footprint, feather, shell, piece of body covering, or partial silhouette. Offer three animal cards and ask who could have left the clue. Then choose the likely habitat. The emphasis is not on guessing quickly; it is on connecting a visible detail with movement and place.
5. Follow the route
Draw a simple map with forest, river, sandy patch, grassland, and mountains. The child moves an animal figure along a route it could reasonably take. At each boundary, ask what changes: Is there still food? Can the animal cross the water? Does it need shade or a place to nest? This combines spatial language with cause-and-effect thinking.
6. Build a mini habitat
Provide a shallow box, cloth, paper, stones, twigs, and age-appropriate animal figures. The child builds one habitat and decides where water, food, and shelter will be. Do not require a museum-perfect model. The valuable part is the planning conversation: “Why is the burrow here?” or “How can the animal stay cool?”
7. Same place, different solutions
Compare two residents of one habitat. A whale and crab both live in the sea but move, feed, and protect themselves differently. A woodpecker and fox share a forest but use different layers and shelters. This prevents the idea that all members of one group must look or behave alike.
How to increase difficulty without creating overload
- Two named groups. The adult provides the habitat labels and the child sorts four cards.
- More examples. Add one or two animals while keeping the same rule and backgrounds.
- A third habitat. Add a new scene only after the original contrast is stable.
- One reason. Invite the child to mention movement, food, shelter, temperature, or a body feature.
- A meaningful exception. Introduce a duck, frog, beaver, or another animal that uses more than one setting.
- Child-made categories. Let the child arrange the cards and state a rule for the adult to discover.
Readiness is shown by consistent understanding, not record speed. Move forward when the child keeps the rule in mind, completes most placements without constant hints, and can reconsider at least some choices. If the game turns into random card moving, remove a habitat, reduce the field, or return to familiar animals.
Learn&Dream materials for exploring animal habitats
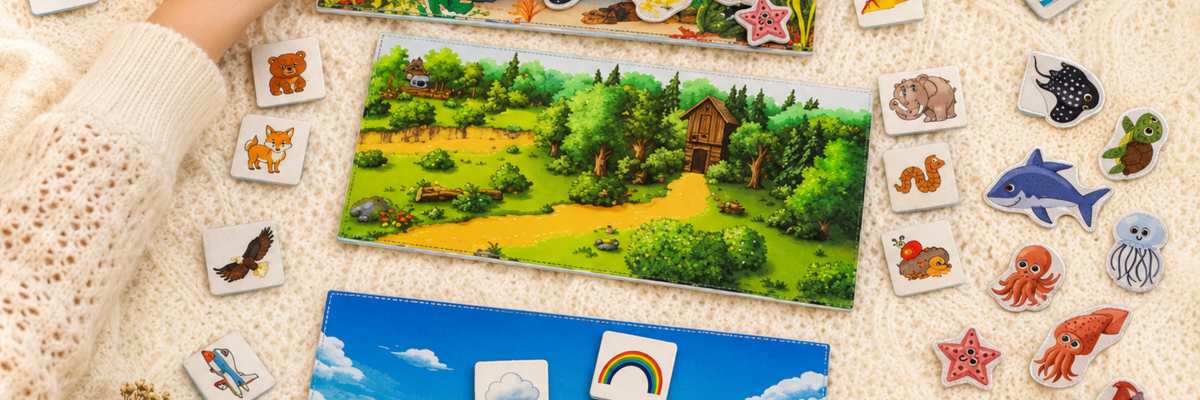
The collection of educational cards about animals and birds contains sets from several natural regions. Combining two sets creates a useful comparison: one supplies a familiar home group while another provides contrasting examples.
|
Material |
Suggested activity |
Useful focus |
Extension |
|
Name forest residents and match pictures with labels |
Fur, feet, diet, movement, and shelter |
Compare two residents that use different forest layers |
|
|
Sort animals by broad region or likely habitat |
Ways of finding water, shade, and food in warm conditions |
Place cards on a world map and support each placement with one clue |
|
|
Explore animals that move over, rest on, or burrow into sand |
Camouflage, digging, shade, and water conservation |
Compare desert sand, beach sand, and the sandy seabed |
|
|
Name marine animals and classify them by movement or location |
Body shape, fins, shells, and different ways of moving |
Separate open-water, seabed, and near-shore residents |
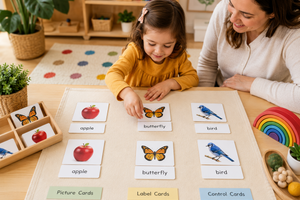
Use a small selection rather than the whole package at once. A three-part card set can support several levels: picture naming, picture-to-label matching, memory, sorting, and a child-created riddle. The same material therefore remains useful as language and reasoning become more detailed.
Using habitat games at home and in preschool
At home, ten to fifteen minutes is enough when the child is rested. Today you might separate forest and sea animals; tomorrow, solve two habitat clues; after a walk, compare a real observation with one card. Keep only the materials needed for that day’s rule on the table. End after a complete small round, not after interest has already disappeared.
In preschool, set up stations for small groups. One station sorts animals, another builds a mini habitat, and a third solves “unexpected visitor” puzzles. In pairs, one child chooses and places a card while the other asks for a reason; then roles switch. Finish by discussing two cards with more than one possible placement. Children hear varied explanations without waiting through a long whole-class quiz.
Common adult mistakes
- Putting out every card. A crowded field taxes visual-search skills before the child understands the new rule.
- Asking for a speech after every move. Let the game flow and invite explanations for selected or uncertain cards.
- Treating categories as rigid boxes. Semi-aquatic animals and migratory birds provide meaningful exceptions.
- Correcting immediately. Pause and use one evidence-based question so the child can review the choice.
- Praising speed rather than thought. A slow decision with a reason is more useful than a fast guess.
- Playing past fatigue. Short, repeatable sessions protect curiosity and encourage children to return.
Follow the age guidance on each material, remove damaged pieces, and supervise activities with small components. Natural objects collected outdoors should also be clean, safe to handle, and appropriate for the child’s age.
Frequently asked questions
At what age can children start sorting animals by habitat?
At around two years, many children can sort three or four familiar animals into two strongly contrasting scenes after a short demonstration. The adult can supply the words. Reasons and more detailed habitat distinctions can be added gradually as the child’s language and experience grow.
What if an animal can live in or use two habitats?
Accept both placements and discuss what the animal does in each place. A duck may feed in water and nest on land. A beaver travels through water but builds shelter using resources from the shore. These examples teach that a useful category can still have flexible boundaries.
How many cards should a preschooler use?
Four to six cards are enough for a first game. Add one or two after several confident rounds. Older preschoolers may work with ten to sixteen cards if the images are familiar and the rule is clear. Random placing is a sign to reduce the field.
Must a child know every animal name before playing?
No. Use mostly familiar animals and introduce one or two new names in context. Repeat the name while the child looks at, moves, and compares the card. The repeated meaningful action gives the word a stronger anchor than drilling an isolated list.
How can we connect the cards with outdoor observation?
Choose one or two cards before a walk and look for indirect evidence: a bird, footprint, feather, food source, nest, water, or hiding place. Observe without disturbing wildlife. Back at home, add what you noticed to a drawing or mini habitat and compare it with the original prediction.
From animal names to connected knowledge
An effective habitat activity begins with two clear places and a few familiar animals. New habitats, adaptation clues, exceptions, maps, and child-created rules come later. The progression should follow understanding rather than age alone.
Leave room for observation, reflection, and well-reasoned alternatives. Then animal cards are no longer a list to memorize. They become tools for comparing evidence, organizing knowledge, talking about nature, and asking better questions about the living world.