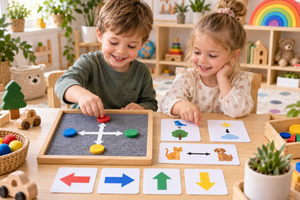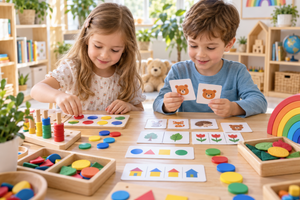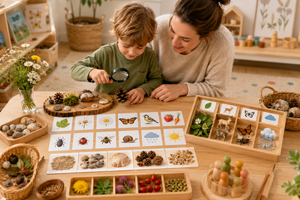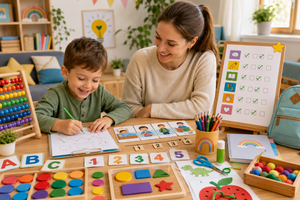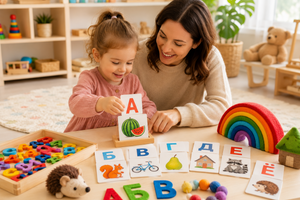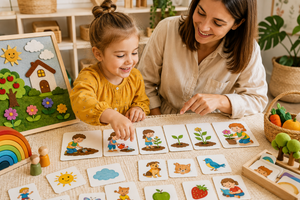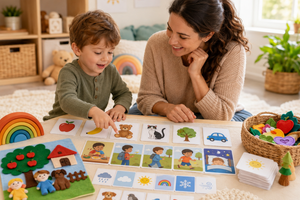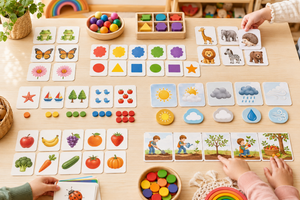
Three-part cards can look almost too simple to need instructions. A typical concept is shown as a control card with a picture and name, a matching picture-only card, and a separate word label. Yet the value is not in completing three piles or memorizing every term. The format creates a visible path from an object and spoken name to matching, reading, and independent checking.
A useful first presentation is deliberately small. The adult chooses a few clearly different images, demonstrates one action at a measured pace, and gives the child room to continue. Labels do not have to appear merely because they belong to the set. A child who is not reading can do meaningful work with real objects, picture cards, spoken vocabulary, and classification.
This guide concentrates on the mechanics of a three-part-card lesson: selecting cards, arranging the workspace, presenting the sequence, responding to errors, and finding extensions that preserve the original purpose. It does not treat the cards as a shortcut to early reading or promise a particular developmental result. The best evidence that the level is suitable is the child’s ability to understand the action and return to it with growing independence.
Key takeaways
- The three elements are a labeled control card, a picture-only card, and a separate word label.
- Begin with objects and spoken language before expecting a child to interpret printed words.
- Three to five contrasting examples are usually more useful than an entire crowded set.
- The control card shows how to check a match without waiting for an adult’s verdict.
- Add labels, classifications, and language games one layer at a time.
What “three-part” means
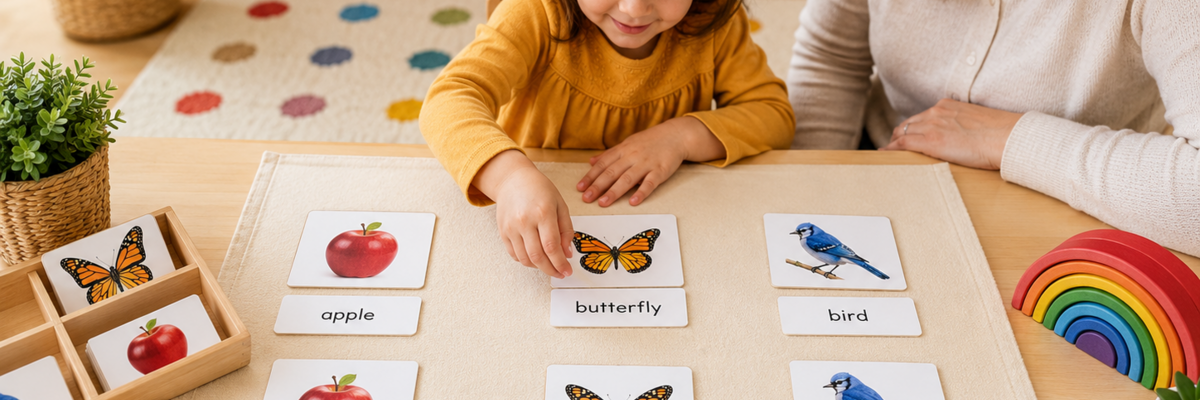
For each concept, the control card combines the image and its name. The second card repeats the image without the printed name. The third piece is the word alone. When those elements are designed consistently, the child can first match identical images, later place a word under a picture, and finally compare the completed pair with the control card.
The structure does not require all three components in every session. A younger child may use only picture cards and miniature or household objects. A child who knows the spoken vocabulary but is beginning to notice print may add two familiar labels. An experienced reader may work with the full set, sort it into categories, and use the control cards only at the end.
Cards are representations, so they are strongest when connected to direct experience. A real spoon can be held, turned, and used; its picture can then be recognized despite a new angle or background. For subjects that cannot be brought indoors, careful photographs, models, books, and observation can provide context before the cards become an abstraction exercise.
Choosing a level by situation and readiness
|
Starting point |
Offer |
Adult’s role |
Sign to add a step |
|
About 2–3 years |
Two or three picture cards with real objects |
Name, match once, and invite imitation |
The child finds pairs and restores the material |
|
About 3–4 years |
Three to five control and picture-only cards |
Model a left-to-right layout without quizzing |
Images are matched steadily and choices are explained |
|
About 4–5 years |
Matching, sorting, and a few familiar labels |
Show the checking routine, then step back |
The child asks about words or recognizes some labels |
|
About 5–6 years |
Full sets, descriptions, categories, and riddles |
Observe and ask one focused follow-up question |
The rule is completed independently and carefully |
Age is only a planning clue. A simpler version is appropriate whenever the matching process itself is new. Conversely, a child with extensive experience may be ready for language and classification extensions without needing every intermediate game.
Prepare the cards and workspace
Select one coherent topic and begin with visibly different examples. An apple, banana, and pear are easier to compare than three similar varieties of apple. Check that the pieces required for the activity are present and oriented consistently. Place unused cards out of sight so the child sees a clear problem rather than a large inventory.
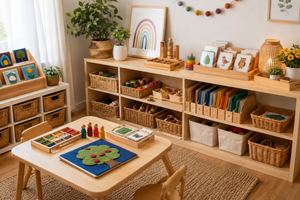
A clean table or small floor mat defines the work area. Put the set in a low basket, tray, or envelope that the child can carry and return. Leave enough room for a row of control cards and a second row beneath it. The storage sequence should make the beginning and ending of the activity understandable with few spoken directions.
Sit beside the child when possible, because both people then see the layout from the same direction. Decide on one lesson aim before starting: naming three objects, matching pictures, adding labels, or sorting a familiar set. Combining naming, reading, memory, speed, and factual questions in one demonstration makes it difficult to identify what needs adjustment.
A basic presentation, step by step
Step 1: Lay out the control cards
Take out one card at a time, say its name naturally, and place it in a neat row from left to right. Pause long enough for the image to be examined. Do not require immediate repetition. If the child already knows the object, a short connection to lived experience is enough.
Step 2: Match picture to picture
Pick up one picture-only card, scan the control row, and place it beneath the identical image. Demonstrate once or twice, then invite the child to continue. If a match is difficult, return the card to the starting point and compare visible features rather than announcing the answer.
Step 3: Introduce labels when they carry meaning
Labels belong in the lesson when the spoken words are familiar and print interests the child. Depending on reading experience, a match may be made through the whole word, an initial sound, or a distinctive letter pattern. Place the label below the picture without covering it. If the words function only as anonymous strips, remove them for now.
Step 4: Demonstrate the control of error
Bring the control card close and compare both the picture and word. The child can see whether the constructed pair agrees with the reference. If one item differs, revise only that pair. Neutral language such as “These do not look the same yet” protects the checking process from becoming a judgment about the child.
Step 5: Restore the complete material
Return the pieces in a predictable order, confirm that the set is complete, and place it back on its shelf. Restoring the material is part of the cycle, not hidden work for the adult. If energy has faded, share the final step while leaving the child one concrete responsibility.
Use the three-period lesson for new vocabulary
Three new names can be introduced through “This is,” “Show me,” and “What is this?” First, name the objects without demanding a response. Next, ask the child to identify one by pointing, moving, or placing it. Only after recognition is stable do you invite independent naming.
The middle period often deserves the most time because it lets the child demonstrate understanding without producing the word. Vary the movement rather than the knowledge: “Give me the beetle,” “Put the butterfly beside the flower,” or “Find the one with wings.” If two names are confused, return to a pair. The final question should confirm readiness, not create a surprise test.
Eight extensions after the core presentation
1. Match a card to an object
Pair cards with safe household objects, models, or collected natural items. Compare what the object reveals that the flat image cannot, such as weight, texture, or another viewpoint.
2. Find the card from clues
Describe two observable features without saying the name. The child selects a card and points to the evidence that supported the choice. Then exchange roles.
3. Sort the same set twice
Classify six familiar cards by one rule and then by another. Animals might first be grouped by habitat and later by movement. State each rule so that the category is not guessed from position alone.
4. What is missing?
Display three or four control cards, cover or remove one, and invite a name or description of the missing item. Add more only when the smaller field is comfortable.
5. Label delivery
Place word labels in a small “mail bag.” Deliver each label to its picture, then use control cards to check every address. Familiar words keep the activity about reading rather than chance.
6. A chain of shared features
Choose one card, name a feature, and find another card with that same quality. Continue through color, function, part, location, or movement while explaining each connection.
7. From image to sentence
Select a card and build a sentence containing an action: “The butterfly rests on a flower.” Invite one detail at a time instead of correcting the child’s whole statement.
8. A three-card museum
The child selects exhibits, arranges labels, and prepares a brief explanation for a family member. Control cards remain available as references, making consultation part of the presentation.
Support self-checking without giving the answer
A control card is useful only after the child has seen how to consult it. Keep references in a separate pile during the first attempt, then show the deliberate comparison of picture and word. If control cards remain on top of the work from the beginning, matching may become copying without a decision.
When something differs, wait. “What could you compare?” is more informative than “Are you sure?” If independent checking is still too demanding, reduce the row or offer only two possible labels. The objective is not a perfect page; it is a repeatable way to notice and revise a choice.
Learn&Dream materials for matching and transfer
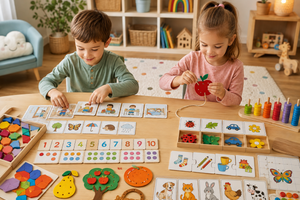
Choose a set by the action it can support: matching, sorting, or transferring an idea from cards to hands-on work. Check the current product page for language, contents, age guidance, and care before use. The examples below serve different purposes, so present each one with its own clear rule.
|
Material |
First use |
Connection to card work |
Extension |
|
Match and name familiar fruit-related images |
Move from picture recognition to grouping |
Explain how a fruit and a prepared food are related |
|
|
Arrange tangible pieces after a card activity |
Transfer a flat visual idea into hands-on placement |
Create and describe a simple pattern |
A transfer activity should not replace the original checking logic. Present it separately: finish and restore the cards, then bring out the hands-on material. That clear boundary helps the child understand which rule belongs to which task.
Adapt the work for home and group settings
At home, one small tray can remain available for several days if the child returns voluntarily. Instead of changing the topic on a fixed schedule, vary one dimension: match objects today, play a clue game tomorrow, and add two labels later. A familiar set often supports deeper work than a constant stream of new pictures.
In a group, demonstrate to three or four children so everyone can see the hands. Afterwards, offer defined roles—lay out pictures, deliver labels, or conduct the final check—but rotate them. Each child still needs a turn at the central matching or classification decision, not only at carrying pieces.
Common mistakes with three-part cards
- Presenting the entire box. Too many similar images hide the rule and make searching the main task.
- Introducing print before meaning. An unfamiliar word does not become understandable merely because it is printed.
- Turning every move into a question. A presentation should offer experience rather than continual performance checks.
- Correcting with the adult’s hands. Show how to consult the reference and let the child revise the pair.
- Combining several aims. Decide whether today’s focus is vocabulary, matching, reading, or classification.
- Leaving pieces loose. Store each type of component in its designated place so the child can begin independently next time.
Frequently asked questions
At what age can children use three-part cards?
At about two or three, a child can work with a few pictures and real objects. The full format with separate labels becomes useful later, when matching is familiar and printed words attract genuine interest.
How many cards belong in a first lesson?
Three clearly different concepts are often enough. A short row completed with little help offers more information than a large set that requires continuous prompting.
Must the child name every picture immediately?
No. Listening, pointing, and matching demonstrate recognition before independent naming. Invite the child to produce a word only after it is familiar, and do not demand an answer on every turn.
What if word labels are repeatedly confused?
Reduce the choices to two or three known words and demonstrate comparison with a control card. If print still has no stable meaning, remove the labels and return to oral language.
How often should the card topic rotate?
Use the child’s work as the signal. Keep a topic while a new action is developing or the child returns to it; rotate after sustained independent use or a clear loss of interest.
Conclusion: one complete action matters more than a complete box
Three-part cards form a sequence: experience and spoken name, image matching, optional word labels, and a visible reference for checking. The adult makes that sequence clear without taking over the search. A first lesson with only three images can therefore be complete in purpose.
When the child can bring the material, follow the familiar procedure, notice a mismatch, and restore the set, add one challenge. This measured progression keeps the cards from becoming a memory test and allows them to remain a flexible tool for observation, vocabulary, reading, classification, and independent work.