Lacing for Children: Benefits, First Exercises and Choosing by Age
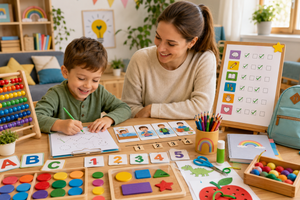
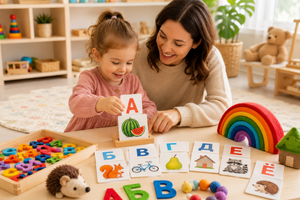
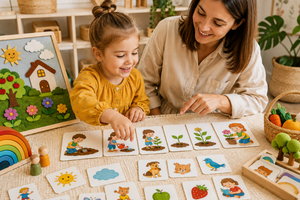
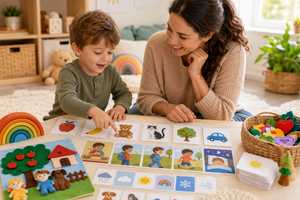
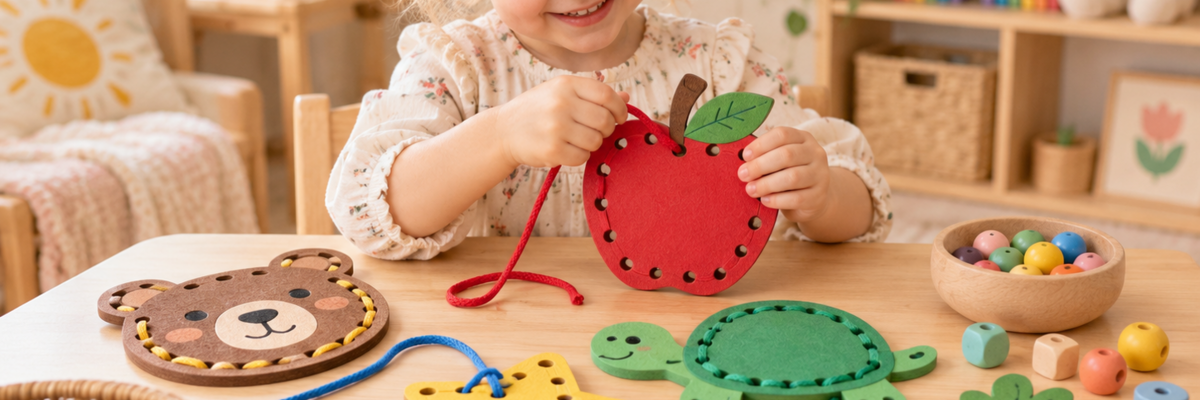
Lacing for children is a hands-on activity in which a child guides a cord through holes, threads large pieces, or joins parts in a simple sequence. The finished pattern may look modest, yet making it requires several decisions. The child has to locate a hole, aim the tip, hold the base with the other hand, pull the cord through, and avoid undoing the previous stitch. Because each part can be simplified or made more challenging, one toy can support many stages of practice.
A first session does not need to end with a neat border or a copied pattern. One successful pull-through is enough. The adult demonstrates slowly, offers only the help that is needed, and stops while the child is still comfortable. This keeps the activity playful and gives the child a clear experience of “I made that happen.”
What counts as a lacing toy?
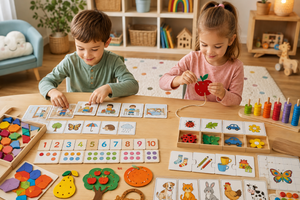
The familiar version is a flat board with holes around its edge and a cord with a firm tip. The board may be shaped like an animal, fruit, item of clothing, vehicle, or geometric figure. Other versions use large beads or figures, detachable pieces that can be “sewn” onto a background, or a dressing frame that resembles the eyelets on a shoe.
A bead threading toy usually allows pieces to be arranged freely or copied from a colour card. A board encourages the child to follow a route across a fixed surface. A shoelace practice toy introduces two working ends and crossing movements. None of these formats is automatically easier simply because it is made of fabric, card, polymer, or wood. Hole size, cord thickness, tip stiffness, number of pieces, and the clarity of the task matter more.
When comparing lacing toys for kids, check whether the tip stays firm and the holes are wide. A plain board may be a better first fine motor lacing toy than an attractive but awkward wooden one.
What the activity gives a child a chance to practise
Lacing asks the two hands to perform different jobs. One hand steadies and turns the base; the other aims and pulls. Later, the child can swap roles. This kind of two-handed coordination appears in everyday tasks such as holding paper while drawing, opening a container, pulling up a zipper, fastening clothing, or tying an apron.
The child also practises a precise grip, wrist rotation, measured force, and hand-eye coordination. Choosing the next hole and keeping the cord from tangling adds basic planning. Copying a short pattern introduces visual comparison and self-checking. These are opportunities for practice, not promises that one toy will teach handwriting or self-dressing on its own.
Variety helps movement skills transfer beyond a single object. Alternate lacing with puzzles, modelling dough, sorting, tongs, and other fine motor skills toys. Once the basic movement is easy, logic and sorting games can add a new rule without introducing smaller pieces. A broader selection of educational toys for calm, purposeful play makes it easier to change the action when one material has temporarily lost its appeal.
Conversation adds a layer without turning play into a quiz. Name colours and positions, ask for the top or next hole, and invent a small story. Language practice comes from listening, choosing, and explaining together—not from finger movement alone.
Signs that a child may be ready
The age on the package is a safety and selection guide, not a deadline. Before offering a first threading toy, notice whether the child can sit beside an adult for a few minutes, grasp a suitably large piece, pass an object from hand to hand, and follow a one-step invitation such as “put it here.” Curiosity about openings, boxes, fasteners, and insert-and-remove play is another helpful sign.
If everything still goes into the mouth, the child walks away after a few seconds, or the first attempt causes immediate frustration, simplify or postpone the activity. That response says little about overall ability. The tip may be too soft, the holes too small, the cord too long, or the picture simply uninteresting.
Choosing the right level by age and experience
Collections of educational toys for ages 2–3 are a useful place to compare simple hand actions. Children ready for a longer sequence may also enjoy options among learning games for ages 3–4. Always read the individual product information, because two toys that look similar can contain very different part sizes and instructions.
|
Approximate stage |
Helpful format |
A sensible first task |
Sign that more challenge may be welcome |
|
Around age 2, with direct supervision |
Very large pieces, short thick cord, two to four wide holes |
Push the tip into one hole and pull it from the other side |
Repeats the movement without hands-on help |
|
Ages 2–3 |
Large flat base or a few large threading shapes |
Use holes in any order and name colours together |
Finds the next hole and steadies the base independently |
|
Ages 3–4 |
More holes, two cord colours, clear outline |
Travel around the edge or alternate two colours |
Notices a skipped hole and can return one step |
|
Ages 4–5 |
Simple pattern card or parts to attach |
Copy a short sequence or secure two or three pieces |
Plans several steps and explains the order |
|
Age 5+ |
Dressing frame or tabletop shoe model |
Match end lengths, cross the cords, and make the first knot |
Wants to use the action on clothing, shoes, or crafts |
These stages overlap. Add a story, colour rule, route, or pattern before shrinking the pieces. Small parts are not a mark of advanced play and must match the maker’s age guidance.
A practical safety check
Start with the manufacturer’s age marking and warnings. Inspect every part for cracks, splinters, sharp edges, loose coatings, or damage. The cord should be strong, its tip securely attached, and its thickness comfortable to hold. For younger children, detachable pieces must be large enough for the stated age and used exactly as directed.
Cord length deserves particular attention because a long cord can wrap around the body. Keep lacing play within an adult’s direct view, and do not leave it in a cot, car seat, or unsupervised play space. Put the set away after use. Replace a frayed or damaged cord in line with the maker’s instructions rather than improvising with small clips, beads, or tape.
For a wooden lacing toy for children, check that all surfaces and hole edges are smooth and that the finish is intact. Fabric versions should have secure seams and clear care instructions. Card and polymer boards can also work well when they are durable, cleanable as recommended, and appropriate for the child’s age. There is no universally superior material.
How to demonstrate without taking over
Sit beside the child so your hands are visible from a similar angle. Place the base on a stable surface and offer one cord. Demonstrate a full cycle slowly: “In, push, turn, find the tip, pull.” Then return the material and wait. The child does not need to complete the entire outline.
If the movement stalls, begin with the lightest prompt. Point to a hole, repeat one action word, or hold the board steady. Guide the child’s hand only with permission and for the shortest possible moment. As soon as the child succeeds, reduce the support. This gradual release is more useful than repeatedly finishing the difficult part for them.
Avoid correcting every skipped hole. In preschool lacing activities, a child can begin by choosing any comfortable route through the holes. An even running stitch, alternating holes, and copying a diagram can wait until the basic push-and-pull action feels easy. End on a successful step and describe it precisely: “You found the tip on the other side and pulled it through.”
First games, from one movement to a sequence
One tunnel. Insert the tip partway and invite the child to find and pull it from the back. Reverse roles after a few turns. This shows that the cord travels through rather than disappearing.
Two choices. Point to two possible holes and let the child decide which comes next. Stop after each pull. The useful part is planning and acting on a choice, not speed.
A path around the edge. Mark the starting hole with a removable sticker and travel in one direction. After two or three holes, pause to straighten the cord. Short completed sections are easier to understand than a demand to “finish it all.”
Colour rhythm. Thread large pieces in a red-blue-red pattern, or use two cords in turns. Keep a three-piece model nearby. When the sequence is familiar, leave out the final piece and ask what might come next.
Sew on a missing part. Attach one large shape through two to four holes: a wheel for a vehicle, a leaf for a tree, or a pocket for a coat. A clear purpose makes repetition more meaningful.
A story route. Turn several holes into stops such as home, park, and shop. The cord becomes the road. The child follows a short route and tells where a character is going, combining movement, order, and imaginative language.
A gentle practice plan
Several short, successful sessions usually work better than one long lesson. Stretch this plan over one or two weeks, repeat favourite steps, and skip anything already easy. Stop when movements become forceful, the cord is repeatedly thrown aside, or the child asks to do something else.
|
Session |
Five-to-ten-minute invitation |
Adult’s role |
A calm ending |
|
1 |
Explore the set and complete two or three pull-throughs |
Name the parts and show one slow cycle |
Describe one successful movement and put pieces away together |
|
2 |
Travel through two neighbouring holes |
Hold the base but let the child control the tip |
Leave one short “stitch” visible |
|
3 |
Let the child choose any three holes |
Ask “where next?” and allow thinking time |
Let the child decide when the route is finished |
|
4 |
Follow the edge from a marked start |
Suggest straightening the cord after a few steps |
Count the finished stitches without grading the result |
|
5 |
Thread two colours in a simple pattern |
Place a three-piece model nearby |
Admire the pattern and let the child carry it briefly if safe |
|
6 |
Attach one large picture piece |
Add a short story but keep directions minimal |
Use the completed picture in pretend play |
|
7 |
Repeat the favourite game with less prompting |
Wait for a request before helping |
Name what the child now manages independently |
Moving from a board to real shoelaces
Tying shoes is more demanding than lacing a fixed board. Two free ends move at once, tension changes, and the result can loosen immediately. Begin with the actions before the bow: make both ends similar in length, cross them, locate the tunnel underneath, pull one end through, and tighten the first knot.
A tabletop model or clean shoe is easier than a shoe on the child’s foot. Point the toe away from the child so the orientation matches what they see when dressing. Two contrasting lace colours make the ends easier to track. Choose one tying method and use the same short phrase for each step; several competing explanations can be confusing.
When the child avoids the activity
Check the equipment before assuming a lack of patience. A flexible tip may collapse, a narrow hole may demand more accuracy than the child has, and excess cord may tangle after every pull. Offer a shorter cord, one board, and two open holes. You can also begin by letting the child pull a tip that is already visible.
Change the purpose as well as the difficulty. Instead of asking for “correct lacing,” invite the child to repair a teddy’s coat, make a necklace for a toy, or build a road. Let them choose the colour and stop. If frustration continues, return to dough, large puzzles, posting games, or sorting for a few weeks and revisit lacing without mentioning the earlier struggle.
If difficulty with precise hand movements regularly interferes with eating, dressing, drawing, or many kinds of play, share those broader observations with the child’s paediatrician or an appropriate professional. Disliking one particular lacing toy does not diagnose anything.
Frequently asked questions
What age is suitable for a first lacing toy?
Follow the age marking and warnings on the specific product, then consider the child’s readiness. Many simple formats are intended for roughly ages 2–3, but part size, cord length, and difficulty vary widely. A first set should have large elements and be used in a short, directly supervised session.
How long should a lacing session last?
A few minutes and two or three successful movements may be enough at first. Stop before fatigue turns into pulling or throwing. When the child chooses the toy independently and remains comfortable, playtime will lengthen naturally without a timer.
Is wood better than fabric, card, or polymer?
Not automatically. Check smoothness, durability, secure construction, safe finishes, piece size, tip design, and care instructions. The best material is one that is age-appropriate, remains in good condition, and makes the intended movement comfortable for this child.
Will a lacing board teach my child to tie shoes?
It prepares useful components: two-handed coordination, pulling through, managing tension, and following a sequence. A bow still needs separate practice with two free ends on a shoe or model. Break the transition into small steps and master the first knot before adding loops.
Should I correct a child who uses the holes in the wrong order?
If the play is safe, an invented route is valid exploration. Introduce a pattern only after the basic movement is comfortable. Instead of moving the child’s hands, ask, “Where would you like the next stitch?” or “What could keep the cord from tangling?”