Left and Right for Children: Learning to Navigate Space
“Put the block on the right,” “Lift your arm up,” and “Draw the sun in the top corner” sound simple. A child must understand the word, identify the reference point, find the correct side, and turn the direction into an action. A preschooler may therefore know up and down yet still pause before choosing left or right.
Spatial orientation develops in stages: the child’s body, movement in a room, one object in relation to another, and finally a flat surface such as paper, a card, or a grid. Each transition needs short, meaningful practice.
A chair, a ball, two boxes, stickers, and crayons are enough. For fresh themes or independent practice, educational toys for movement and tabletop play can extend the same progression without turning it into a test.
Why “up” is often easier than “left”
The vertical axis has obvious landmarks: ceiling and floor, head and feet. The body’s two sides look more alike. Identifying another person’s left or right also requires attention to the way that person is facing: a child’s right hand, when they face an adult, appears on the left side of the adult’s view.
Introduce spatial concepts for children in small groups. “On,” “under,” and “between” describe relationships; “forward” and “backward” describe movement; “left” and “right” refer to a body or named anchor. Mixing everything in one game hides the source of difficulty.
|
Word group |
Stable anchor |
First action |
A useful next step |
|
Up — down |
Head, feet, ceiling, floor |
Reach up, crouch down |
Put an item on a high or low shelf |
|
In front — behind |
Face and back |
Step forward or backward |
Place a car in front of or behind a box |
|
Left — right |
The two sides of one’s body |
Raise the named hand |
Step sideways or place an object on that side |
|
Above — below |
One object as the reference |
Hold a ball above the head, hide it under a chair |
Describe the relationship between two toys |
|
Between — next to — far away |
Two or more objects |
Stand between two chairs |
Build and describe a small arrangement |
|
Top, bottom, and corners of a page |
Edges of a flat surface |
Touch the top and bottom edges |
Add a mark in a named corner |
Begin with the child’s own body
Before searching for a corner on a card, let the child feel both sides of their body. During routines, say “Here is your left sock,” “Put your right foot into the boot,” or “Lift both arms up.” One precise word joined to an action is more useful than repeated quizzing.
Stand beside the child and face the same way, so your left side matches theirs. Later stand opposite and say, “This is my right hand. Show me your right.” Perspective then becomes an explicit new challenge.
Do not define right as the writing or “better” hand. That clue fails for left-handed children, and hand preference may still be developing. The names describe two equal sides, not correctness.
Give one side a temporary visual clue
A temporary marker can hold the direction during movement. Put a soft ribbon loosely on the left wrist or a sticker on the left sleeve, then say, “Raise your left hand with the ribbon.”
Fade the support: use it visibly, hide it under a sleeve, then ask which hand had it. The marker is a bridge between the word and the child’s sense of that side, not a permanent condition.
Keep the clue stable but vary the action: touch the left knee, step right, turn the head left, or pick up an object on the right. The word then separates from one memorized pose.
Explore up and down with the whole body
Demonstrate up and down without cards: reach toward a cloud, touch the floor, or toss a light scarf and watch it rise and fall. Join the movement, spoken word, and visible result.
Then contrast “up high” with “above.” A balloon can be high in the room but above the table. Likewise, a cat may sit down at the bottom of the stairs or under a chair. Clear examples and hands-on placement matter more than a grammar explanation.
Use a clear, non-slip space. “Higher” should never mean an unstable chair or another unsafe place.
Make directions serve a real purpose
A direction is easier to remember when it produces a visible result. Begin with one command, not a sequence. After several successful turns, let the child lead while the adult follows. The adult can pause to clarify without grading the answer: “To my left, or to the bear’s left?”
- Sticker path. Place large markers on the floor. Change one instruction at a time: step forward, step left, arms up. Everyone faces the same way at first.
- Room treasure hunt. Hide a toy at the end of two or three directions: “Walk to the table. Turn right. Look under the box.” Use only safe, accessible places.
- Robot and programmer. The robot follows short directions literally. A child soon discovers why “go there” is unclear and how a direction word improves the route.
- Dress the character. Put a hat above the figure, shoes below, a bag on the right, and a ball on the left. Then exchange roles.
- Musical pause. Players move freely during music. When it stops, the leader gives one action: crouch down, turn left, or lift the right arm.
Avoid moving the child’s body into the answer. Pause, repeat the command more simply, point out the stable clue, or demonstrate beside the child while facing the same way. Finding the direction independently provides more information than being physically turned by an adult.
Move from body sides to object positions
Once the child finds left and right on their body, place one clear anchor in front of them: a box, a dollhouse, or a sheet of card. Offer two objects and ask for the ball to go to the right of the box and the block to the left. Always name the reference point. “Put the car on the right” is incomplete when several possible anchors sit on the table.
Next, invite the child to describe an arrangement you prepared. Accept a gesture or one-word answer, then model the full relationship: “Yes, the rabbit is to the left of the house.” Switch the objects and ask what changed. The child begins to see that the relationship comes from position, not from an object’s color or name.
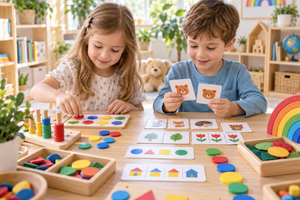
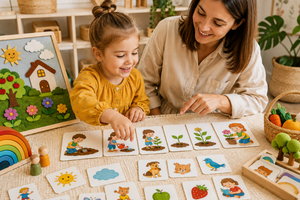
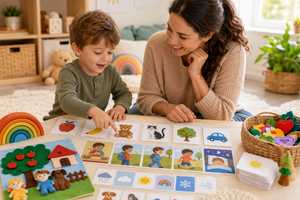
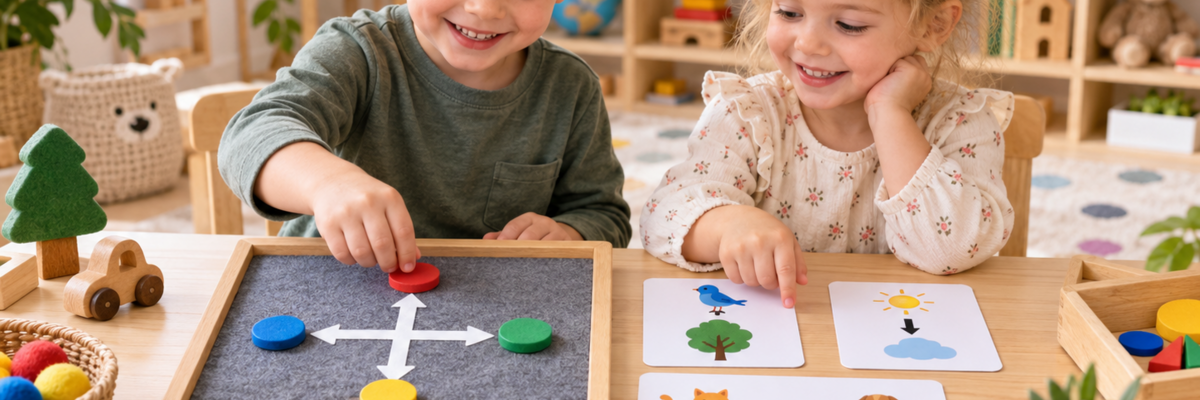
The Felt Game “Pattern Matching. Parking” offers a useful setting: cars can be placed to the left or right of a landmark and in the upper or lower row, then guided to a space with spoken directions. The first session does not need a complex model card. Two cars and one positional condition are enough.
Whose right? Introduce a change of viewpoint
When people and toys face different ways, change one viewpoint at a time. Begin with a character facing the same way as the child, then turn it around. Ask “Where is the bear’s right paw?” rather than “Where is right?”
Use “your left,” “my left,” and “the doll’s left.” Matching ribbons on the adult’s and child’s left wrists show that both remain left even when they face each other.
Delay mirror games until the child’s own sides are stable. Copying someone who faces you while naming that person’s side is a separate perspective-taking task.
Transfer the vocabulary from the room to paper
A page has no head or feet, so its orientation must remain fixed by agreement. Place it straight in front of the child and identify the top and bottom edges. Then find left and right, and only afterward name the four corners. If the page turns, restore its starting position before the next direction.
Begin with one feature: “Draw a dot at the top” or “Place the sticker on the right.” Combine two features later: “Put the sun in the top-left corner,” or “Draw the house at the bottom right.” Do not add color, shape, number, and direction all at once while the position itself still requires effort.
|
Transfer stage |
Example instruction |
Sign that the next step is reasonable |
A simpler version |
|
Own body |
“Raise your left hand” |
Responds without copying the adult |
Stand side by side, face one way, add a ribbon |
|
Movement in a room |
“Step to the right” |
Keeps the direction after hearing one word |
Mark the starting point and one side with color |
|
Object in relation to self |
“Put the ball to your left” |
Responds correctly with different objects |
Use one object and only two positions |
|
One object in relation to another |
“Put the car to the right of the box” |
Includes the reference point when describing it |
Center the anchor and mark two zones |
|
Page |
“Add a star in the top-right corner” |
Keeps the page still and checks the edges |
Mark the top edge and use only two corners |
|
Grid or simple map |
“Find the lower square on the left” |
Combines row and side without a gesture |
Cover extra rows and use a 2 × 2 field |
For older preschoolers, the Blue Series: Hand Positions learning set connects search with navigation in a table. This is not a first lesson in left and right. It is practice on a flat grid, so reduce the visible field if rows and columns are competing for the child’s attention.
Give directions that can be understood
A useful command contains an action, direction, and reference point: “Put the circle under the square” or “Stand to the right of the chair.” Use one complete sentence and allow time to respond.
Say the direction, pause, and only then add a gesture if needed. Later ask the child to instruct you. Saying “to the right of the box,” rather than only placing an object, shows that the word is becoming active language.
If the child says “over there,” restate it naturally: “Yes, to the left of the tree.” If action and word differ, ask, “From you or from the doll?” The missing reference point may be the problem.
Choose materials for the next stage
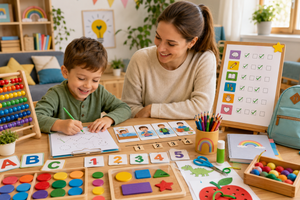
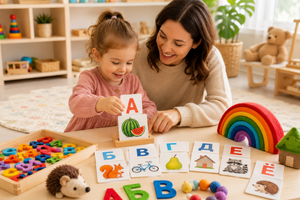
Blocks, figures, cardboard shapes, and felt pieces all allow open-ended positioning. In the logic and sorting games collection, consider piece size, age guidance, and whether elements can be moved into different arrangements. A useful set is one the child can handle independently and safely.
When “left,” “right,” “above,” and “under” begin to appear in the child’s own directions, move on to pattern-copying activities. The task is now different: instead of following one spoken command, the child analyses a complete arrangement and recreates it. A themed option such as the Felt Game “Pattern Matching. Space” can support that step, but begin with two or three large, clearly different pieces.
Common adult mistakes
Repeatedly asking “Which is your left hand?” can teach one pose without transfer to a step, object, or page. Other common problems are demonstrating a mirror image while facing the child and training every spatial word at once.
Do not call confusion carelessness or demand speed. “To your right” and “to the bear’s right” are different tasks, so announce the change of reference.
If persistent difficulty with simple directions appears alongside concerns about vision, hearing, movement, or language, do not use a game for home diagnosis. Share observations that affect daily life with a pediatrician or relevant professional.
How to notice real progress
Look for transfer rather than speed. At first, the child responds with a ribbon and later without it; follows a direction beside the adult and later without a visual model; finds a side on the body and then beside a box, on paper, and in a simple grid. Progress also includes asking whose side is meant and correcting a choice after a neutral prompt.
Frequently asked questions
At what age should a child know left and right?
There is no single deadline. Preschoolers often learn up, down, on, and under before left and right, which require longer practice. Identifying the side of a person or character facing another way is a separate step. Follow the progression from body to movement, objects, and paper rather than demanding an instant response by a particular birthday.
Can I mark one hand with a bracelet?
Yes. A soft ribbon or sticker can be a temporary anchor. Pair it with the side name, then fade it: hide it under a sleeve, show it only before the game, and finally ask the child to remember without it. Make sure any band is loose and does not interfere with movement.
What if my child copies every movement as a mirror image?
Stand beside the child and face the same direction. Secure commands in that shared orientation before working face to face. Later compare “my right” with “your right.” A mirrored response is not simply inattention; changing viewpoint genuinely adds a new reasoning step.
How can I teach the top and bottom corners of a page?
Keep the paper in one fixed position. Identify the top and bottom edges first, then left and right, and only afterward combine two features to name a corner. Start with two contrasting corners and large stickers, and do not rotate the page during the task.
How long should a spatial-direction game last?
Five to ten minutes is often plenty for a preschooler, while an everyday routine may need only one well-timed direction. Finish while interest remains. Brief practice across movement, object play, and drawing creates more opportunities for transfer than one long round of questions.
A practical route without rushing
Begin today with two words and three actions: reach up, touch the floor down low, and step left with a ribbon on the wrist. Next time, use the same directions with a ball and a box. When object positions feel secure, let the child direct the adult and later add one mark to a page.
The route remains consistent: from the child’s body to movement, from movement to relationships between objects, and from real space to a flat surface. A clear reference point, one new condition at a time, and opportunities to give directions turn left and right for children into language they can actually use.